User:Lewtwo/SkittyGallery: Difference between revisions
From Bulbapedia, the community-driven Pokémon encyclopedia.
Jump to navigationJump to search
No edit summary |
m (correcting links) |
||
| (One intermediate revision by one other user not shown) | |||
| Line 5: | Line 5: | ||
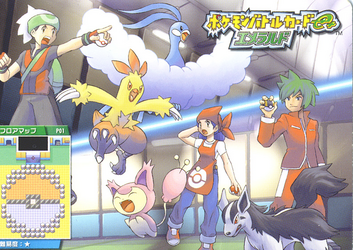
{{User:SnorlaxMonster/ArtGallery/entry|hoenn|Trainer Hill art.png|In [[Trainer Hill]] artwork from [[Pokémon Emerald Version|Emerald]]}} | {{User:SnorlaxMonster/ArtGallery/entry|hoenn|Trainer Hill art.png|In [[Trainer Hill]] artwork from [[Pokémon Emerald Version|Emerald]]}} | ||
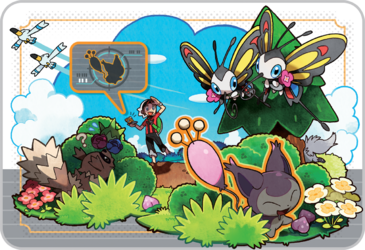
{{User:SnorlaxMonster/ArtGallery/entry|kalos|ORAS DexNav artwork.png|In [[DexNav]] artwork from [[Pokémon Omega Ruby and Alpha Sapphire Versions|Omega Ruby and Alpha Sapphire]]}} | {{User:SnorlaxMonster/ArtGallery/entry|kalos|ORAS DexNav artwork.png|In [[DexNav]] artwork from [[Pokémon Omega Ruby and Alpha Sapphire Versions|Omega Ruby and Alpha Sapphire]]}} | ||
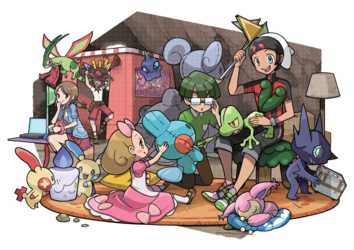
{{User:SnorlaxMonster/ArtGallery/entry|kalos|ORAS Secret Base Art.png|In [[Super Secret Base]] artwork from [[Pokémon Omega Ruby and Alpha Sapphire Versions|Omega Ruby and Alpha Sapphire]]}} | {{User:SnorlaxMonster/ArtGallery/entry|kalos|ORAS Secret Base Art.png|In [[Super-Secret Base]] artwork from [[Pokémon Omega Ruby and Alpha Sapphire Versions|Omega Ruby and Alpha Sapphire]]}} | ||
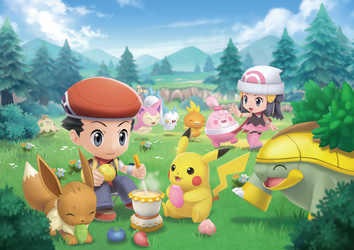
{{User:SnorlaxMonster/ArtGallery/entry|galar|Amity Square BDSP.png|In [[Amity Square]] artwork from [[Pokémon Brilliant Diamond and Shining | {{User:SnorlaxMonster/ArtGallery/entry|galar|Amity Square BDSP.png|In [[Amity Square]] artwork from [[Pokémon Brilliant Diamond and Shining Pearl|Brilliant Diamond & Shining Pearl]]}} | ||
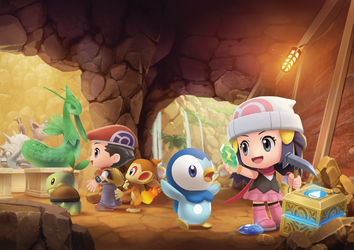
{{User:SnorlaxMonster/ArtGallery/entry|galar|Grand Underground BDSP.png|In [[Grand Underground]] artwork as a statue from [[Pokémon Brilliant Diamond and Shining Pearl Versions|Brilliant Diamond & Shining Pearl]]}} | {{User:SnorlaxMonster/ArtGallery/entry|galar|Grand Underground BDSP.png|In [[Grand Underground]] artwork as a statue from [[Pokémon Brilliant Diamond and Shining Pearl Versions|Brilliant Diamond & Shining Pearl]]}} | ||
</div> | </div> | ||
| Line 73: | Line 73: | ||
{{User:SnorlaxMonster/ArtGallery/entry|hoenn|TT Skitty.png|[[Pokémon Team Turbo|Team Turbo]]}} | {{User:SnorlaxMonster/ArtGallery/entry|hoenn|TT Skitty.png|[[Pokémon Team Turbo|Team Turbo]]}} | ||
{{User:SnorlaxMonster/ArtGallery/entry|hoenn|MDP RT 300.png|Mystery Dungeon: [[Pokémon Mystery Dungeon: Red Rescue Team and Blue Rescue Team|Red & Blue Rescue Team]], [[Pokémon Mystery Dungeon: Explorers of Time and Explorers of Darkness|Explorers of Time & Darkness]] and [[Pokémon Mystery Dungeon: Explorers of Sky|Explorers of Sky]]}} | {{User:SnorlaxMonster/ArtGallery/entry|hoenn|MDP RT 300.png|Mystery Dungeon: [[Pokémon Mystery Dungeon: Red Rescue Team and Blue Rescue Team|Red & Blue Rescue Team]], [[Pokémon Mystery Dungeon: Explorers of Time and Explorers of Darkness|Explorers of Time & Darkness]] and [[Pokémon Mystery Dungeon: Explorers of Sky|Explorers of Sky]]}} | ||
{{User:SnorlaxMonster/ArtGallery/entry|hoenn|300msra.png|[[Pokémon Ranger (game)|Ranger]]}} | {{User:SnorlaxMonster/ArtGallery/entry|hoenn|300msra.png|[[Pokémon Ranger (video game)|Ranger]]}} | ||
{{User:SnorlaxMonster/ArtGallery/entry|sinnoh|Menu PBR 300.png|Icon from [[Pokémon Battle Revolution|Battle Revolution]]}} | {{User:SnorlaxMonster/ArtGallery/entry|sinnoh|Menu PBR 300.png|Icon from [[Pokémon Battle Revolution|Battle Revolution]]}} | ||
{{User:SnorlaxMonster/ArtGallery/entry|sinnoh|Menu PBR 300 s.png|Shiny Icon from [[Pokémon Battle Revolution|Battle Revolution]]}} | {{User:SnorlaxMonster/ArtGallery/entry|sinnoh|Menu PBR 300 s.png|Shiny Icon from [[Pokémon Battle Revolution|Battle Revolution]]}} | ||
| Line 96: | Line 96: | ||
==={{pkmn|Trading Card Game}}=== | ==={{pkmn|Trading Card Game}}=== | ||
<div class="blacklinks" style="display: flex; flex-wrap: wrap; align-items: flex-start; padding: 3px; {{roundy|10px}}; border: 2px solid #{{black color}}; background: #{{black color light}}; text-align:center; font-size: 80%"> | <div class="blacklinks" style="display: flex; flex-wrap: wrap; align-items: flex-start; padding: 3px; {{roundy|10px}}; border: 2px solid #{{black color}}; background: #{{black color light}}; text-align:center; font-size: 80%"> | ||
{{User:SnorlaxMonster/ArtGallery/entry|white|SkittyEXRubySapphire44.jpg|{{TCG ID|--|--|--}} from {{TCG|EX Ruby & Sapphire}} by [[--]]}} | {{User:SnorlaxMonster/ArtGallery/entry|white|SkittyEXRubySapphire44.jpg|<!--{{TCG ID|--|--|--}}-->-- from {{TCG|EX Ruby & Sapphire}} by [[--]]}} | ||
{{User:SnorlaxMonster/ArtGallery/entry|white|SkittyEXRubySapphire70.jpg|{{TCG ID|--|--|--}} from {{TCG|EX Ruby & Sapphire}} by [[Ken Sugimori]]}} | {{User:SnorlaxMonster/ArtGallery/entry|white|SkittyEXRubySapphire70.jpg|<!--{{TCG ID|--|--|--}}-->-- from {{TCG|EX Ruby & Sapphire}} by [[Ken Sugimori]]}} | ||
{{User:SnorlaxMonster/ArtGallery/entry|white|SkittyEXRubySapphire71.jpg|{{TCG ID|--|--|--}} from {{TCG|EX Ruby & Sapphire}} by [[--]]}} | {{User:SnorlaxMonster/ArtGallery/entry|white|SkittyEXRubySapphire71.jpg|<!--{{TCG ID|--|--|--}}-->-- from {{TCG|EX Ruby & Sapphire}} by [[--]]}} | ||
{{User:SnorlaxMonster/ArtGallery/entry|white|SkittyEXSandstorm79.jpg|{{TCG ID|--|--|--}} from {{TCG|EX Sandstorm}} by [[--]]}} | {{User:SnorlaxMonster/ArtGallery/entry|white|SkittyEXSandstorm79.jpg|<!--{{TCG ID|--|--|--}}-->-- from {{TCG|EX Sandstorm}} by [[--]]}} | ||
{{User:SnorlaxMonster/ArtGallery/entry|white|SkittyEXLegendMaker64.jpg|{{TCG ID|--|--|--}} from {{TCG|EX Legend Maker}} by [[--]]}} | {{User:SnorlaxMonster/ArtGallery/entry|white|SkittyEXLegendMaker64.jpg|<!--{{TCG ID|--|--|--}}-->-- from {{TCG|EX Legend Maker}} by [[--]]}} | ||
{{User:SnorlaxMonster/ArtGallery/entry|white|SkittyEXCrystalGuardians41.jpg|{{TCG ID|--|--|--}} from {{TCG|EX Crystal Guardians}} by [[--]]}} | {{User:SnorlaxMonster/ArtGallery/entry|white|SkittyEXCrystalGuardians41.jpg|<!--{{TCG ID|--|--|--}}-->-- from {{TCG|EX Crystal Guardians}} by [[--]]}} | ||
{{User:SnorlaxMonster/ArtGallery/entry|white|SkittyEXPowerKeepers62.jpg|{{TCG ID|--|--|--}} from {{TCG|EX Power Keepers}} by [[--]]}} | {{User:SnorlaxMonster/ArtGallery/entry|white|SkittyEXPowerKeepers62.jpg|<!--{{TCG ID|--|--|--}}-->-- from {{TCG|EX Power Keepers}} by [[--]]}} | ||
{{User:SnorlaxMonster/ArtGallery/entry|white|SkittyLegendsAwakened119.jpg|{{TCG ID|--|--|--}} from {{TCG|Legends Awakened}} by [[--]]}} | {{User:SnorlaxMonster/ArtGallery/entry|white|SkittyLegendsAwakened119.jpg|<!--{{TCG ID|--|--|--}}-->-- from {{TCG|Legends Awakened}} by [[--]]}} | ||
{{User:SnorlaxMonster/ArtGallery/entry|white|SkittyPlatinum93.jpg|{{TCG ID|--|--|--}} from {{TCG|Platinum}} by [[--]]}} | {{User:SnorlaxMonster/ArtGallery/entry|white|SkittyPlatinum93.jpg|<!--{{TCG ID|--|--|--}}-->-- from {{TCG|Platinum}} by [[--]]}} | ||
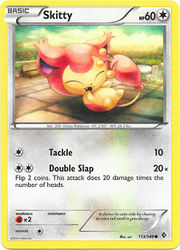
{{User:SnorlaxMonster/ArtGallery/entry|white|SkittyBoundariesCrossed113.jpg|{{TCG ID|--|--|--}} from {{TCG|Boundaries Crossed}} by [[--]]}} | {{User:SnorlaxMonster/ArtGallery/entry|white|SkittyBoundariesCrossed113.jpg|<!--{{TCG ID|--|--|--}}-->-- from {{TCG|Boundaries Crossed}} by [[--]]}} | ||
{{User:SnorlaxMonster/ArtGallery/entry|white|SkittyPlasmaStorm109.jpg|{{TCG ID|--|--|--}} from {{TCG|Plasma Storm}} by [[--]]}} | {{User:SnorlaxMonster/ArtGallery/entry|white|SkittyPlasmaStorm109.jpg|<!--{{TCG ID|--|--|--}}-->-- from {{TCG|Plasma Storm}} by [[--]]}} | ||
{{User:SnorlaxMonster/ArtGallery/entry|white|SkittyKalosStarterSet28.jpg|{{TCG ID|--|--|--}} from {{TCG|--}} by [[--]]}} | {{User:SnorlaxMonster/ArtGallery/entry|white|SkittyKalosStarterSet28.jpg|<!--{{TCG ID|--|--|--}}-->-- from --<!--{{TCG|--}}--> by [[--]]}} | ||
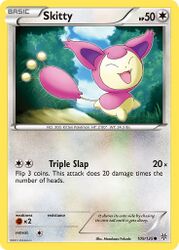
{{User:SnorlaxMonster/ArtGallery/entry|white|SkittyXY104.jpg|{{TCG ID|--|--|--}} from {{TCG|XY}} by [[--]]}} | {{User:SnorlaxMonster/ArtGallery/entry|white|SkittyXY104.jpg|<!--{{TCG ID|--|--|--}}-->-- from {{TCG|XY}} by [[--]]}} | ||
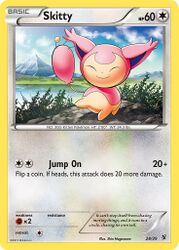
{{User:SnorlaxMonster/ArtGallery/entry|white|SkittyPrimalClash113.jpg|{{TCG ID|--|--|--}} from {{TCG|Primal Clash}} by [[--]]}} | {{User:SnorlaxMonster/ArtGallery/entry|white|SkittyPrimalClash113.jpg|<!--{{TCG ID|--|--|--}}-->-- from {{TCG|Primal Clash}} by [[--]]}} | ||
{{User:SnorlaxMonster/ArtGallery/entry|white|SkittyDarknessAblaze141.jpg|{{TCG ID|--|--|--}} from {{TCG|Darkness Ablaze}} by [[--]]}} | {{User:SnorlaxMonster/ArtGallery/entry|white|SkittyDarknessAblaze141.jpg|<!--{{TCG ID|--|--|--}}-->-- from {{TCG|Darkness Ablaze}} by [[--]]}} | ||
{{User:SnorlaxMonster/ArtGallery/entry|white|SkittyCelestialStorm120.jpg|{{TCG ID|--|--|--}} from {{TCG|Celestial Storm}} by [[Ken Sugimori]]}} | {{User:SnorlaxMonster/ArtGallery/entry|white|SkittyCelestialStorm120.jpg|<!--{{TCG ID|--|--|--}}-->-- from {{TCG|Celestial Storm}} by [[Ken Sugimori]]}} | ||
{{User:SnorlaxMonster/ArtGallery/entry|white|SkittyFusionStrike210.jpg|{{TCG ID|--|--|--}} from {{TCG|Fusion Strike}} by [[--]]}} | {{User:SnorlaxMonster/ArtGallery/entry|white|SkittyFusionStrike210.jpg|<!--{{TCG ID|--|--|--}}-->-- from {{TCG|Fusion Strike}} by [[--]]}} | ||
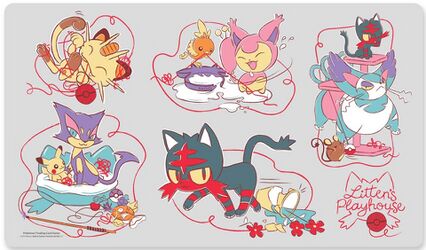
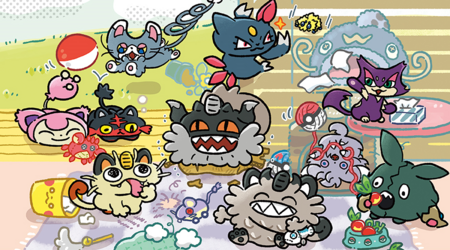
{{User:SnorlaxMonster/ArtGallery/entry|white|LittensPlayhouse Playmat.jpg|On [[Sun & Moon TCG Era merchandise]] from the Litten's Playhouse merch line}} | {{User:SnorlaxMonster/ArtGallery/entry|white|LittensPlayhouse Playmat.jpg|On [[Sun & Moon TCG Era merchandise]] from the Litten's Playhouse merch line}} | ||
</div> | </div> | ||
Latest revision as of 11:29, 7 September 2024
Gallery
Core Series Artwork
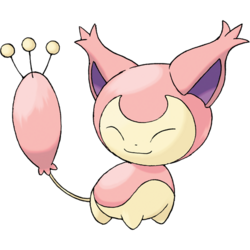
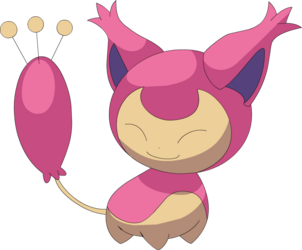
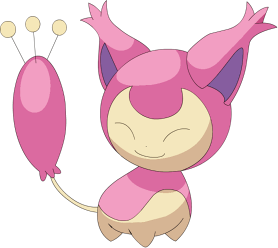
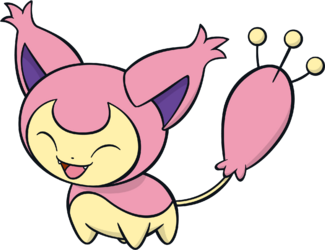
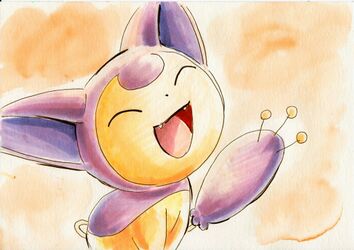
From Ruby & Sapphire by Ken Sugimori
In Trainer Hill artwork from Emerald
In DexNav artwork from Omega Ruby and Alpha Sapphire
In Super-Secret Base artwork from Omega Ruby and Alpha Sapphire
In Amity Square artwork from Brilliant Diamond & Shining Pearl
In Grand Underground artwork as a statue from Brilliant Diamond & Shining Pearl
Core Series Sprites & Models
Ruby & Sapphire and FireRed & LeafGreen (Shiny)
Emerald (Shiny)
Generation III Back
Generation III Back (Shiny)
Generation III Menu
Generation III Footprint
Ruby & Sapphire and Emerald Overworld
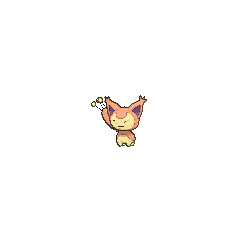
Generation IV (Shiny)
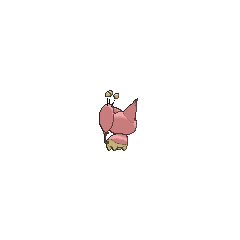
Diamond & Pearl Back
Diamond & Pearl Back (Shiny)
Platinum and HeartGold & SoulSilver Back
Platinum and HeartGold & SoulSilver Back (Shiny)
Generation IV Footprint
Diamond & Pearl and Platinum Overworld
HeartGold & SoulSilver Overworld
Generation V (Shiny)
Generation V Back
Generation V Back (Shiny)
Generation VI (Shiny)
Generation VI Back
Generation VI Back (Shiny)
Generation VI Menu
Brilliant Diamond & Shining Pearl Footprint
Other Games' Artwork
Other Games' Sprites & Models
Icon from Colosseum
Shiny Icon from Colosseum
Box Sprite from Colosseum
Shiny Box Sprite from Colosseum
Icon from XD: Gale of Darkness
Shiny Icon from XD: Gale of Darkness
Box Sprite from XD: Gale of Darkness
Shiny Box Sprite from XD: Gale of Darkness
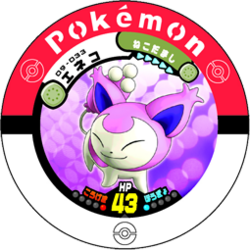
Icon from Trozei
Icon from Battle Revolution
Shiny Icon from Battle Revolution
Doll from the Dream World
Icon from Battle Trozei
Icon from Shuffle
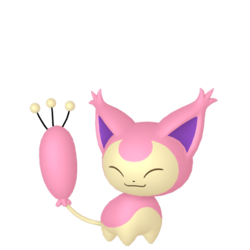
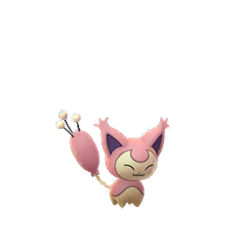
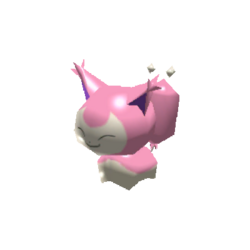
Model from GO
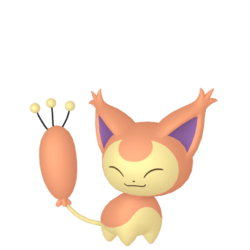
Shiny Model from GO
Icon from Rumble Rush
Model from Rumble Rush
Anime & Manga
On the cover art of Pokémon Adventures volume 56 by Satoshi Yamamoto
On the cover art of Pokémon Adventures volume 59 by Satoshi Yamamoto
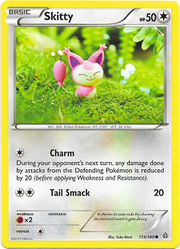
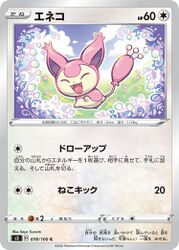
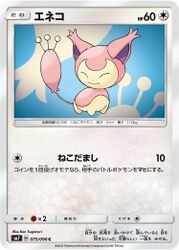
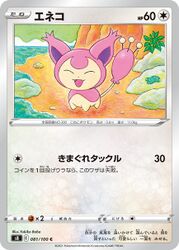
Trading Card Game
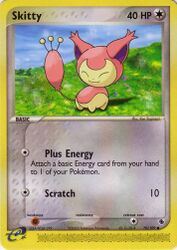
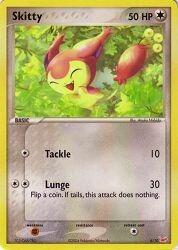
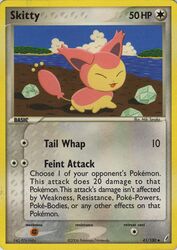
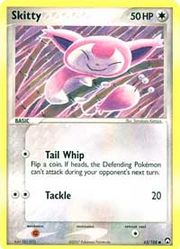
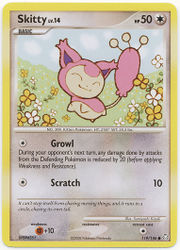
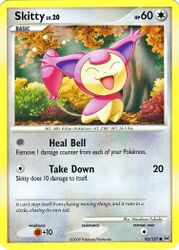
-- from EX Ruby & Sapphire by --
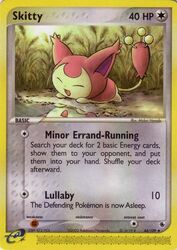
-- from EX Ruby & Sapphire by Ken Sugimori
-- from EX Ruby & Sapphire by --
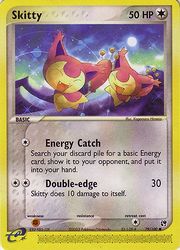
-- from EX Sandstorm by --
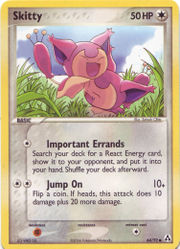
-- from EX Legend Maker by --
-- from EX Crystal Guardians by --
-- from EX Power Keepers by --
-- from Legends Awakened by --
-- from Boundaries Crossed by --
-- from Plasma Storm by --
-- from -- by --
-- from Primal Clash by --
-- from Darkness Ablaze by --
-- from Celestial Storm by Ken Sugimori
-- from Fusion Strike by --
On Sun & Moon TCG Era merchandise from the Litten's Playhouse merch line
Other Artwork
Winter Fest Artwork
Daisuki Club Artwork
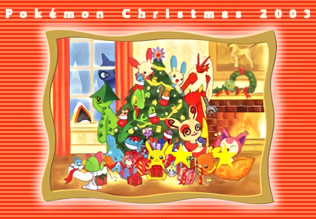
In Pokémon Center Online artwork from Christmas 2003
In Pokémon Center Online artwork from Christmas 2003
In artwork from the GAME FREAK website
In Melody of Hope artwork by Kouki Saitou
Original Stitch Pattern by Masami Fukumoto[1]
In Cats merchandise by Kino Takahashi[2]
Staff Artwork
This is a collection of fan-art drawn by prolific staff members on the series.
